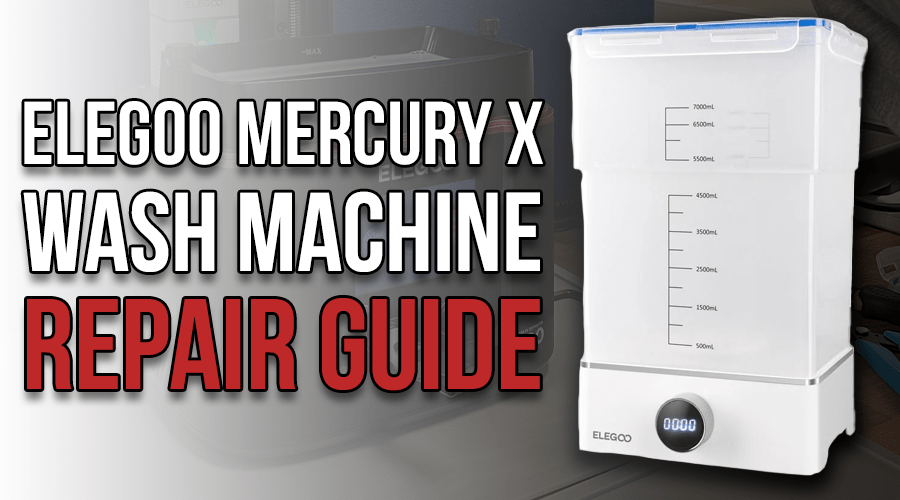
The ELEGOO Mercury X wash machine is an invaluable piece of kit, speeding up the vital cleaning stage of the process, but these machines can suffer from a fairly common problem; one that we encountered on ours straight away.
Turning it on and setting a time worked just fine but as soon as we pressed go it became quickly apparent the machine was suffering.
As you can see in this video, the pulsator wheel at the bottom of the tank became very notchy and stopped spinning, accompanied by a mechanical squealing noise that sounded far from healthy! We contacted ELEGOO who sent over a guide and were extremely helpful in guiding us through the fix. As a keen tinkerer, I made a couple of my own additional modifications to futureproof the repair, and these are also outlined in the following guide.
If your machine suffers the same issues as ours, I hope this guide saves you some heartache and gets your Mercury X wash machine back up and running. Do consider safety when making modifications to your kit though and check how any changes to the tech might impact your product’s warranty before you ‘get under the hood’.
Step one
Check the pulsator wheel at the bottom of the tank and use your hands to try and rotate it back and forth. If it can turn smoothly, the upper part is in good condition.
Top tip: once your wash machine is in full working order remember to keep the pulsator clean and free of debris, otherwise it could get jammed up.
Step two
Once you’ve determined the pulsator wheel is free and working as it should be you will need to open the base of the unit and check the motor wheel grub screw. To gain access to the motor, loosen these screws arrowed in the picture.
You will then see the motor mount, held in with a further four bolts. Undo these and unclip the wiring harness from the motor.
Top tip: take care not to tighten anything too much. The structure is fragile, and over-tightening will cause damage.
You can now access the motor wheel grub screw (the thread size for this is M3*4 and requires a 1.5mm Allen key to undo/tighten). We recommend loosening this first, removing the wheel from the motor drive pin to check it is in good order and located properly.
You will notice that the drive pin on the motor has a flat side. This is where the grub screw should locate against. Whilst here inspect the underside mounting point of the wheel for cracks. If it is not cracked, you can re-install the wheel onto the motor drive pin and tighten sufficiently but remember not to over-tighten as you could crack the mount; this is the weak point!
If, like our cleaner, you are unfortunate enough to discover a cracked mounting point on the motor wheel you can make the same modifications that we did, outlined in the next steps.
Step three
We removed the grub screw completely as the force from it, once tightened, is totally one-sided and essentially just opens the cracks even more. We then drilled out the grub screw hole using a 2.5mm drill bit in a precision hobby pin drill. We made sure to drill through the opposite side of the mount too.
Step four
Once the motor wheel was drilled out, we focused our attention on the motor drive pin. You should be able to see where the grub screw had marked the pin, if not pop the wheel back on and mark the pin using the pin drill. It’s also worth noting that removing the mounting plate from the motor at this point is advisable, although not essential.
We drilled straight through the motor pin using a power drill. This step is quite crucial and somewhat tricky. Supporting the motor in a vice helps and centre-punching your marked point stops the drill from wandering.
Step five
We liberally applied some superglue to the outside of the cracks on the wheel’s motor drive pin mount. This should help strengthen it a little.
Step six
Once your parts have been drilled and the glue has dried the assembly is the reverse of the disassembly. If you removed the motor mounting plate re-install this first, then attach the wheel to the drive pin. You will now need a suitable 2.5mm x 25mm cotter pin (also known as a split pin) to add to the build; insert this through your drilled-out holes. We had to tap it through with a punch and a small hammer.
Once the pin is in place use some needle-nosed pliers to bend the two sides of the pin outwards and lock the wheel in place. By doing it this way the force on the motor drive pin from the original grub screw is eliminated, and there is no way the wheel can slip or come off.
Step seven
Fasten the motor back into the base unit, connect the wiring harness, re-attach the back plate, and then give the Mercury X wash machine a test. Ours has been totally reliable since and makes washing the resin prints effortless.


